When I started, I had a non-certified helmet, and after just a few months of use I learned about helmet certification and that I really needed a good helmet. There are only a few dual-certified helmets available, with the S-One Lifer being the most popular. Nutcase also made a "crossover" helmet- it has now been discontinued, but lucky me because of that I got one for a great price in one of my team colors (or close at least) at 2N1skateshoppe.com, my "local" Alaskan skate shop.
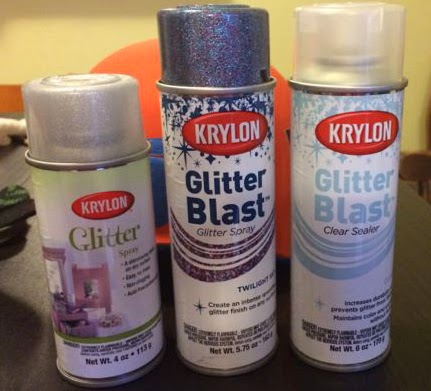
My team colors are orange and gray-blue. The thinking behind that was to represent the gray-blue of the ocean and our rainy sky, and the orange of the sunset, because Sitka faces West out into the open ocean. My helmet was orange. Vividly orange. And not in the least bit glittery. So obviously something needed to change. I had seen this post about putting your name and number on your helmet, and I happened upon some blue spray glitter in my local craft store, and started to hatch a plan.
Unfortunately I forgot to take pictures for the initial stages of masking, but here's what I did. I happened to have some full-sheet sticker printer paper, so instead of using blue tape, I just printed my name and number directly on the sticker paper. I did a couple of rough drafts first on regular paper to make sure it would be the right size.
 The tedious part, of course, was cutting the name and number out with an X-Acto knife. I recommend using new blades and changing the blade if the tip breaks. You could save yourself a lot of hassle by just buying a name and number decal for $9 on Etsy! Or if you have a friend with one of those cutting machines like a Silhouette, you're dialed.
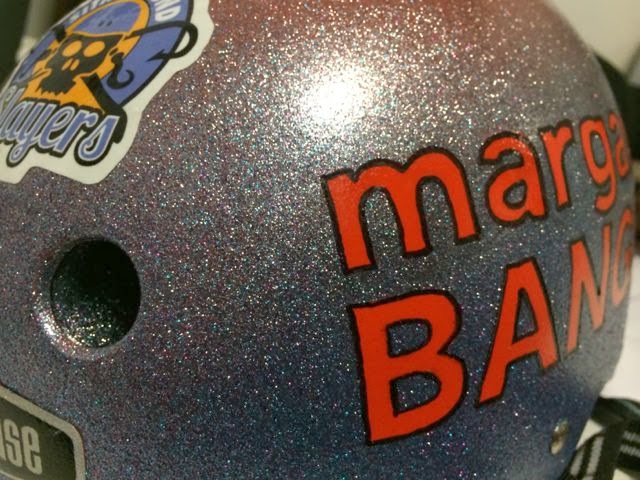
  My plan was to leave the orange color for my name and number, and then spray glitter the helmet, so the orange would pop out from the blue glitter. So I stuck the letters themselves on my helmet, instead of cutting them out of the background like the other post showed. Before I applied them, I used a ruler to draw a faint pencil line to make sure I put them on straight. I kept the letters together by leaving little bridges between them as I cut them out, for the purpose of maintaining the spacing and the evenness for the letters. Then once they were stuck down, I used my knife to cut the little bridges away. I wish I had photos of that for you. It made it a lot easier than it would have been sticking it on letter by letter.
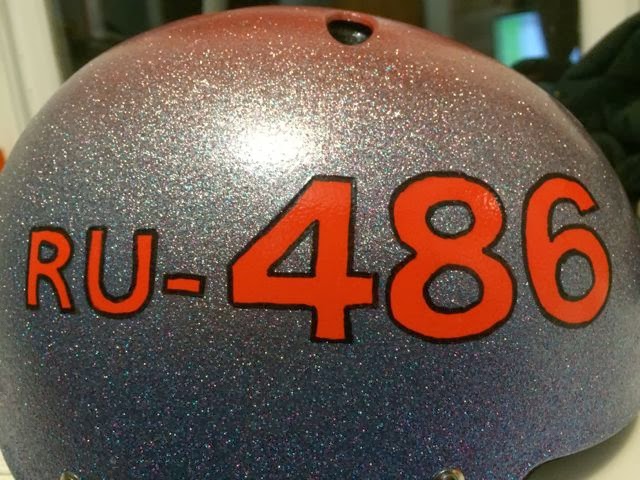
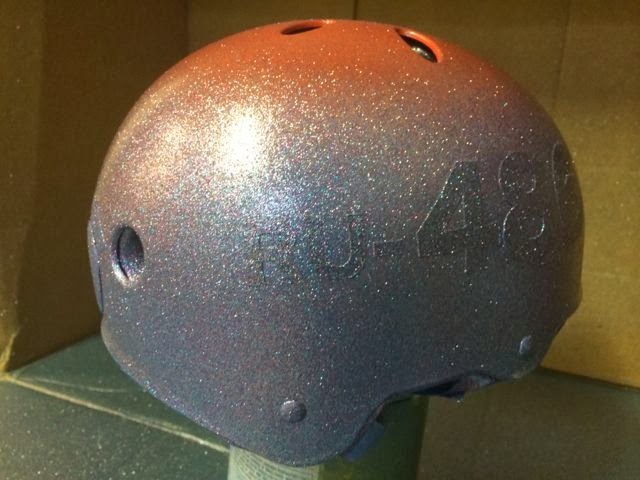
Now. If you're clever, you have already noticed the mistake I made, which I did not notice till my ref pointed it out at practice. You want your number on your left, to the inside of the track, and your name on your right, to the outside of the track. Number is for refs, name is for fans. Yeah. The worst part of it is that I knew that and was thinking about it while doing this, but... I am spatially challenged and I didn't check myself. It worried me for a few days but then I figured you know what? It's not like I'm going to play a sanctioned bout any time soon (read: ever) so no biggie. Plus our team rule memorizer says it's not a rule, just a suggestion.
Next, I masked the parts of my helmet I did not want to be glittery, with blue painter's tape. This included the bottom edges of foam, the rivets on the helmet, and the Nutcase logos. I put the tape on, squished it in around the edges with my fingernail, and then cut around the rivets/logos with the X-Acto knife.

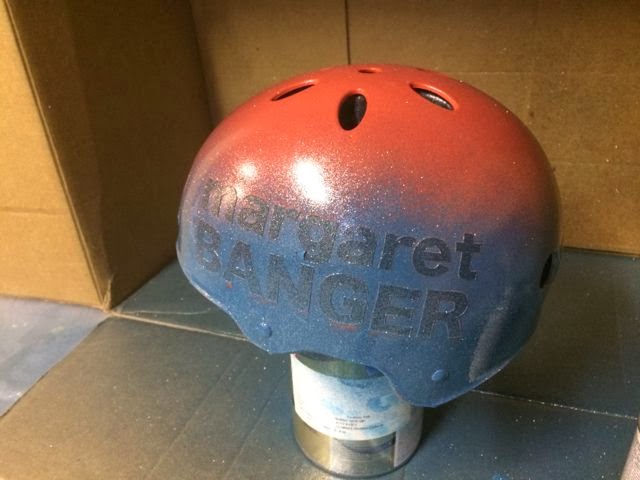
And now the fun begins! It was rainy, rainy fall, and the last time I spray painted on my covered deck I left a huge overspray outline on the deck, so this time I created a set up in the basement that seemed to work well. I set up a huge cardboard box (from our team merch order!) and a small paint can to elevate the helmet. I sprayed a little, rotated it a little, sprayed a little, rotated it further, etc., and the box seemed to catch most of the overspray... although I wouldn't do it in the living room! I found a can of blue spray paint when I was digging around for something to perch the helmet on, so I did a bottom layer about half way up in blue. I'm not sure that was really necessary, and I was worried I went up too high because I wanted to keep the top of the helmet orange. I did know I wanted to make sure the area around the letters was totally sprayed, so there would be enough contrast to see.

And then I started with the glitter. I went heavy with the blue on the bottom, and then added silver to make it more gray-blue, and just kept going back and forth till it seemed right. I concentrated the silver on the middle third of the helmet to get the ombre look. On the second or third squirt with the blue, the nozzle got stuck and it just kept spraying! I guess it's common with this kind of glitter (just see the Amazon reviews), and you can solve it with a Q-tip of solvent, which I of course didn't have or know about. So at one point I managed to stop it, and then I got it started again, and so that was my last blast of blue before I finished up with silver. You can see a little how I ended up going back and forth with the blue (which is a little purpley) and the silver. I think I did all the glitter in one sitting, but I don't totally remember- the nozzle malfunction forced that. If I were to do it again I'd try to leave a little more orange on top- I put the letters up so high though I couldn't really do that.

There are a few schools of thought on unmasking after spraying- some people say to do it when the paint is totally wet, others totally dry, others in between. I went for in between. The can said the glitter dried to the touch in an hour and hard in 24 hours. I unmasked after an hour or thereabouts. The paint was still soft, and I didn't have any peeling issues at all. Whew! I did use my trusty X-Acto knife to gently cut around each letter or object before I peeled it up, and I unmasked the logos and rivets first for practice.


And finally, the topcoat helped when I went to outline the letters and screwed it up a bunch of times and had to take off paint pen with denatured alcohol. That would have been bad without the topcoat- but the glitter was not harmed one bit! I seriously bought 3 or 4 different paint pens, and ended up just using a Sharpie. I thought the Sharpie wouldn't be dark enough or fat enough, but it was actually perfect. There was a slight ridge at the edge of the letters, and I just traced along that edge on the inside. It's not perfect, but it's pretty darn good if I do say so myself.